Ever thought of creating your own blog? This blog post will guide you through the process of building a blog using GitHub Pages, a platform that allows you to host and publish webpages for free. I will start from scratch, walking you through the steps of creating a new GitHub repository, configuring your blog, adding content, and customizing the layout and design. I will also explore some popular Jekyll themes that you can use to make your blog look professional and appealing. This blog post will also discuss some best practices for building a blog on GitHub Pages, including tips on optimizing site performance, using custom domains, organizing content, and integrating social media and comments. Finally, I will show you how to leverage the features of GitHub Pages to manage your blog effectively. Whether you’re a seasoned blogger or a newbie, this guide will provide you with the knowledge and tools to start your own blog on GitHub Pages.
Introduction
In the era of digital communication, blogging has become a popular way to share ideas, experiences, and knowledge with others. Today, there are numerous platforms available for hosting blogs, each with its own set of features and benefits. One such platform is GitHub Pages, a service provided by GitHub that allows users to host websites directly from their GitHub repositories.
GitHub Pages is a static site hosting service that takes HTML, CSS, and JavaScript files straight from a repository on GitHub, optionally runs the files through a build process, and publishes a website. It is designed to host your personal, organization, or project pages from a GitHub repository.
One of the main advantages of using GitHub Pages for blogging is its simplicity. GitHub Pages uses Jekyll, a static site generator, for creating your blog. Jekyll allows you to blog using Markdown, a lightweight and easy-to-use syntax for styling your writing. This means you can focus on writing your content without worrying about complex web development tasks.
Moreover, GitHub Pages is a free service if your repository is public, which makes it a cost-effective solution for hosting your blog. It also supports custom domains, allowing you to personalize your blog’s URL.
In this blog post, I will guide you through the process of setting up a blog using GitHub Pages from scratch, discuss some awesome themes you can use, share best practices for building your blog, and explain how to make the most out of GitHub Pages’ features for blogging.
Building a Blog from Scratch
One of the first steps in creating a blog on GitHub Pages is setting up a new GitHub repository. This repository will host all the files related to your blog, including your blog posts, themes, and configuration files.
Step 1: Creating a New GitHub Repository
To create a new GitHub repository, follow the steps below:
- Log into your GitHub account. If you don’t have one, you can create a new account for free.
- Click on the “New repository” button in the upper-right corner of the GitHub homepage.
- Name your repository in the format: {Your GitHub username}.github.io. For example, if your GitHub username is “thinhdanggroup”, then name your repository thinhdanggroup.github.io.
- Make sure your repository is set to “Public”. If you set it to “Private”, your website will not be published.
- Click on the “Create repository from template” button.
You have now successfully created a new GitHub repository for your blog.
Step 2: Configuring the _config.yml File
The _config.yml file is a crucial component of your blog. It contains settings that Jekyll uses when it builds your site. Here’s how you can configure it:
- Open the _config.yml file in your repository.
- Edit the settings to customize your blog. You can change settings like your blog’s name, bio, social media usernames, and more.
- If you do not want to provide certain information, like an email or social media usernames, you can comment them out using the “#” symbol.
- Save your changes. GitHub will automatically detect the changes and rebuild your site.
Step 3: Adding Content to Your Blog
To add content to your blog, you will need to create blog post files in the _posts folder in your repository. These files should be named using the format: yyyy-mm-dd-your-blog-post-name.md. Here’s how you can do it:
- Navigate to the _posts folder in your repository.
- Click on the “New file” button.
- Name your file in the format mentioned above. For example, a post written on January 28th, 2021, would be named 2021-01-28-my-blog-post.md.
- Write your blog post in the file using Markdown syntax.
- Save your file. Your new post will show up on the home page of your blog.
Step 4: Customizing the Layout and Design
You can customize the layout and design of your blog to match your personal style. Here’s how you can do it:
- Open the _config.yml file and the index.md file in your repository.
- Edit the settings in the _config.yml file to change elements like your name, bio, and social media usernames.
- Edit the index.md file to customize your home page.
- Save your changes. GitHub will automatically detect the changes and rebuild your site.
By following these steps, you can easily set up a blog on GitHub Pages from scratch. In the next section, I will discuss some awesome themes you can use to enhance the look and feel of your blog.
Exploring Awesome Themes
Enhancing the visual appeal of your blog is essential to attract and retain readers. One way to do this is by using a theme. A theme is a pre-designed template that changes the look and feel of your blog. GitHub Pages supports Jekyll themes, which are easy to install and customize[^20^].
In this section, I will showcase some popular Jekyll themes that you can use for your GitHub Pages blog.
Minimal Mistakes
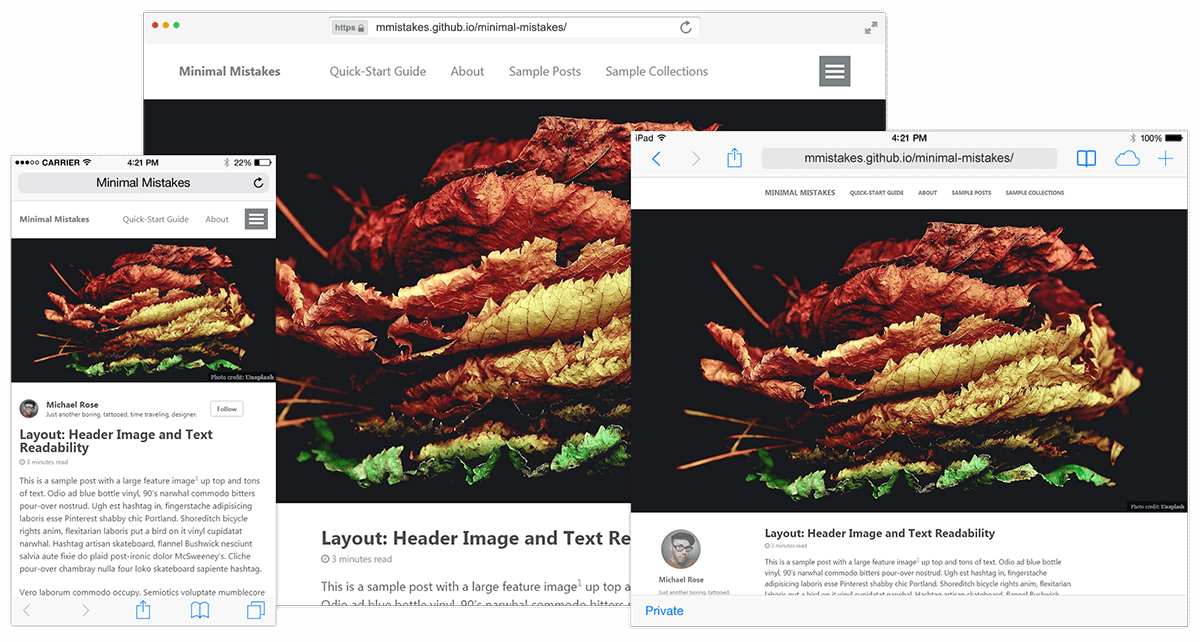
Minimal Mistakes is a flexible two-column Jekyll theme that’s perfect for building personal sites, project landing pages, and blogs. It’s designed to be mobile-friendly and includes support for categories, posts, and pages. The theme also includes a number of customizable options, like color schemes and typography, so you can tailor the look of your blog to fit your personal style.
Jekyll Now
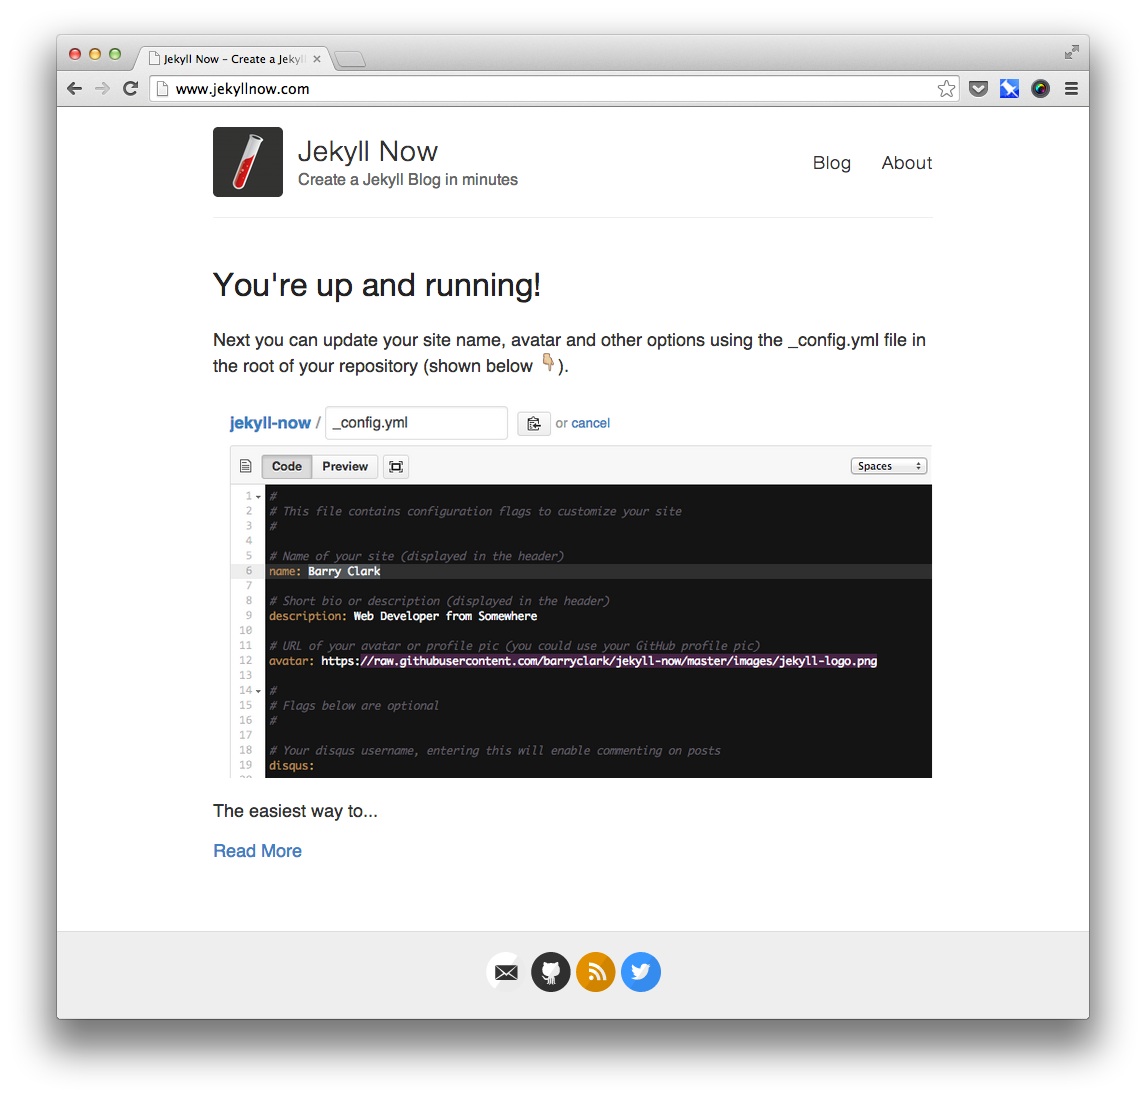
Jekyll Now is a theme designed for simplicity and ease of use. It eliminates the need for setting up a local development environment, making it a great choice for beginners. With Jekyll Now, you can have a blog up and running in minutes, all without leaving your web browser.
Beautiful Jekyll
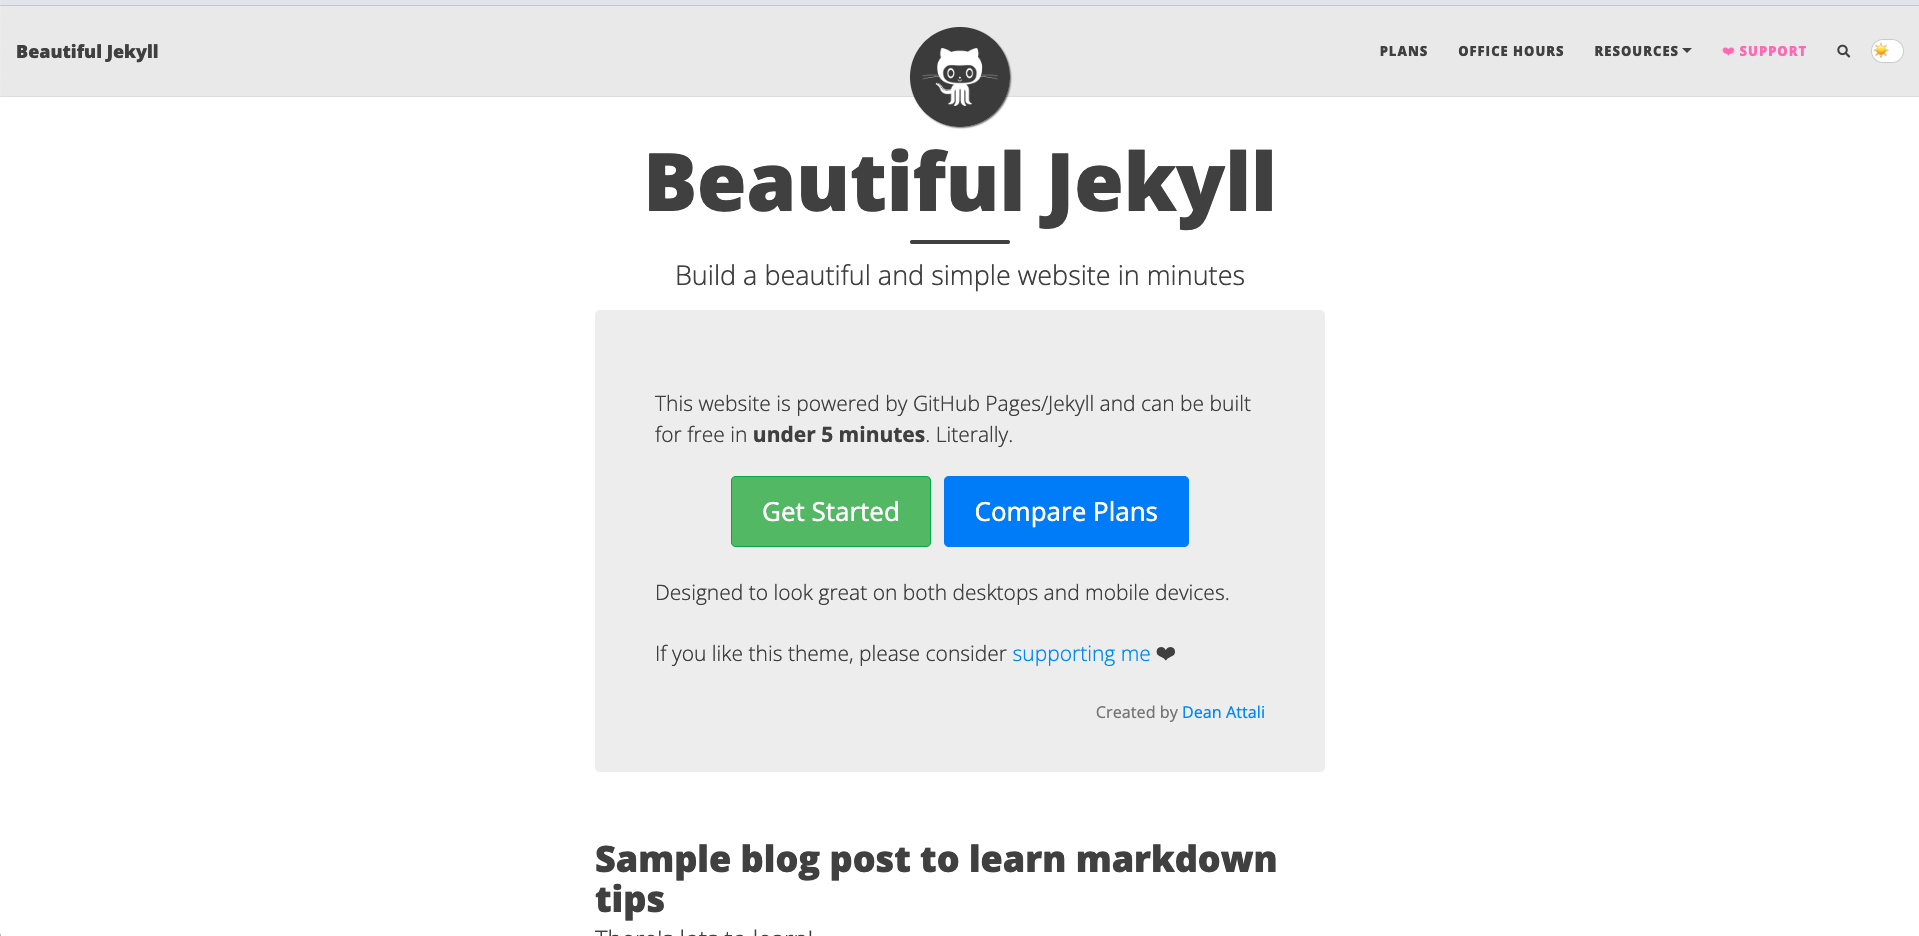
Beautiful Jekyll is a clean, responsive theme that offers a range of features like Google Analytics integration, Disqus commenting, and social media icons. It’s also customizable, allowing you to change the color scheme, font, and layout of your blog.
Lanyon
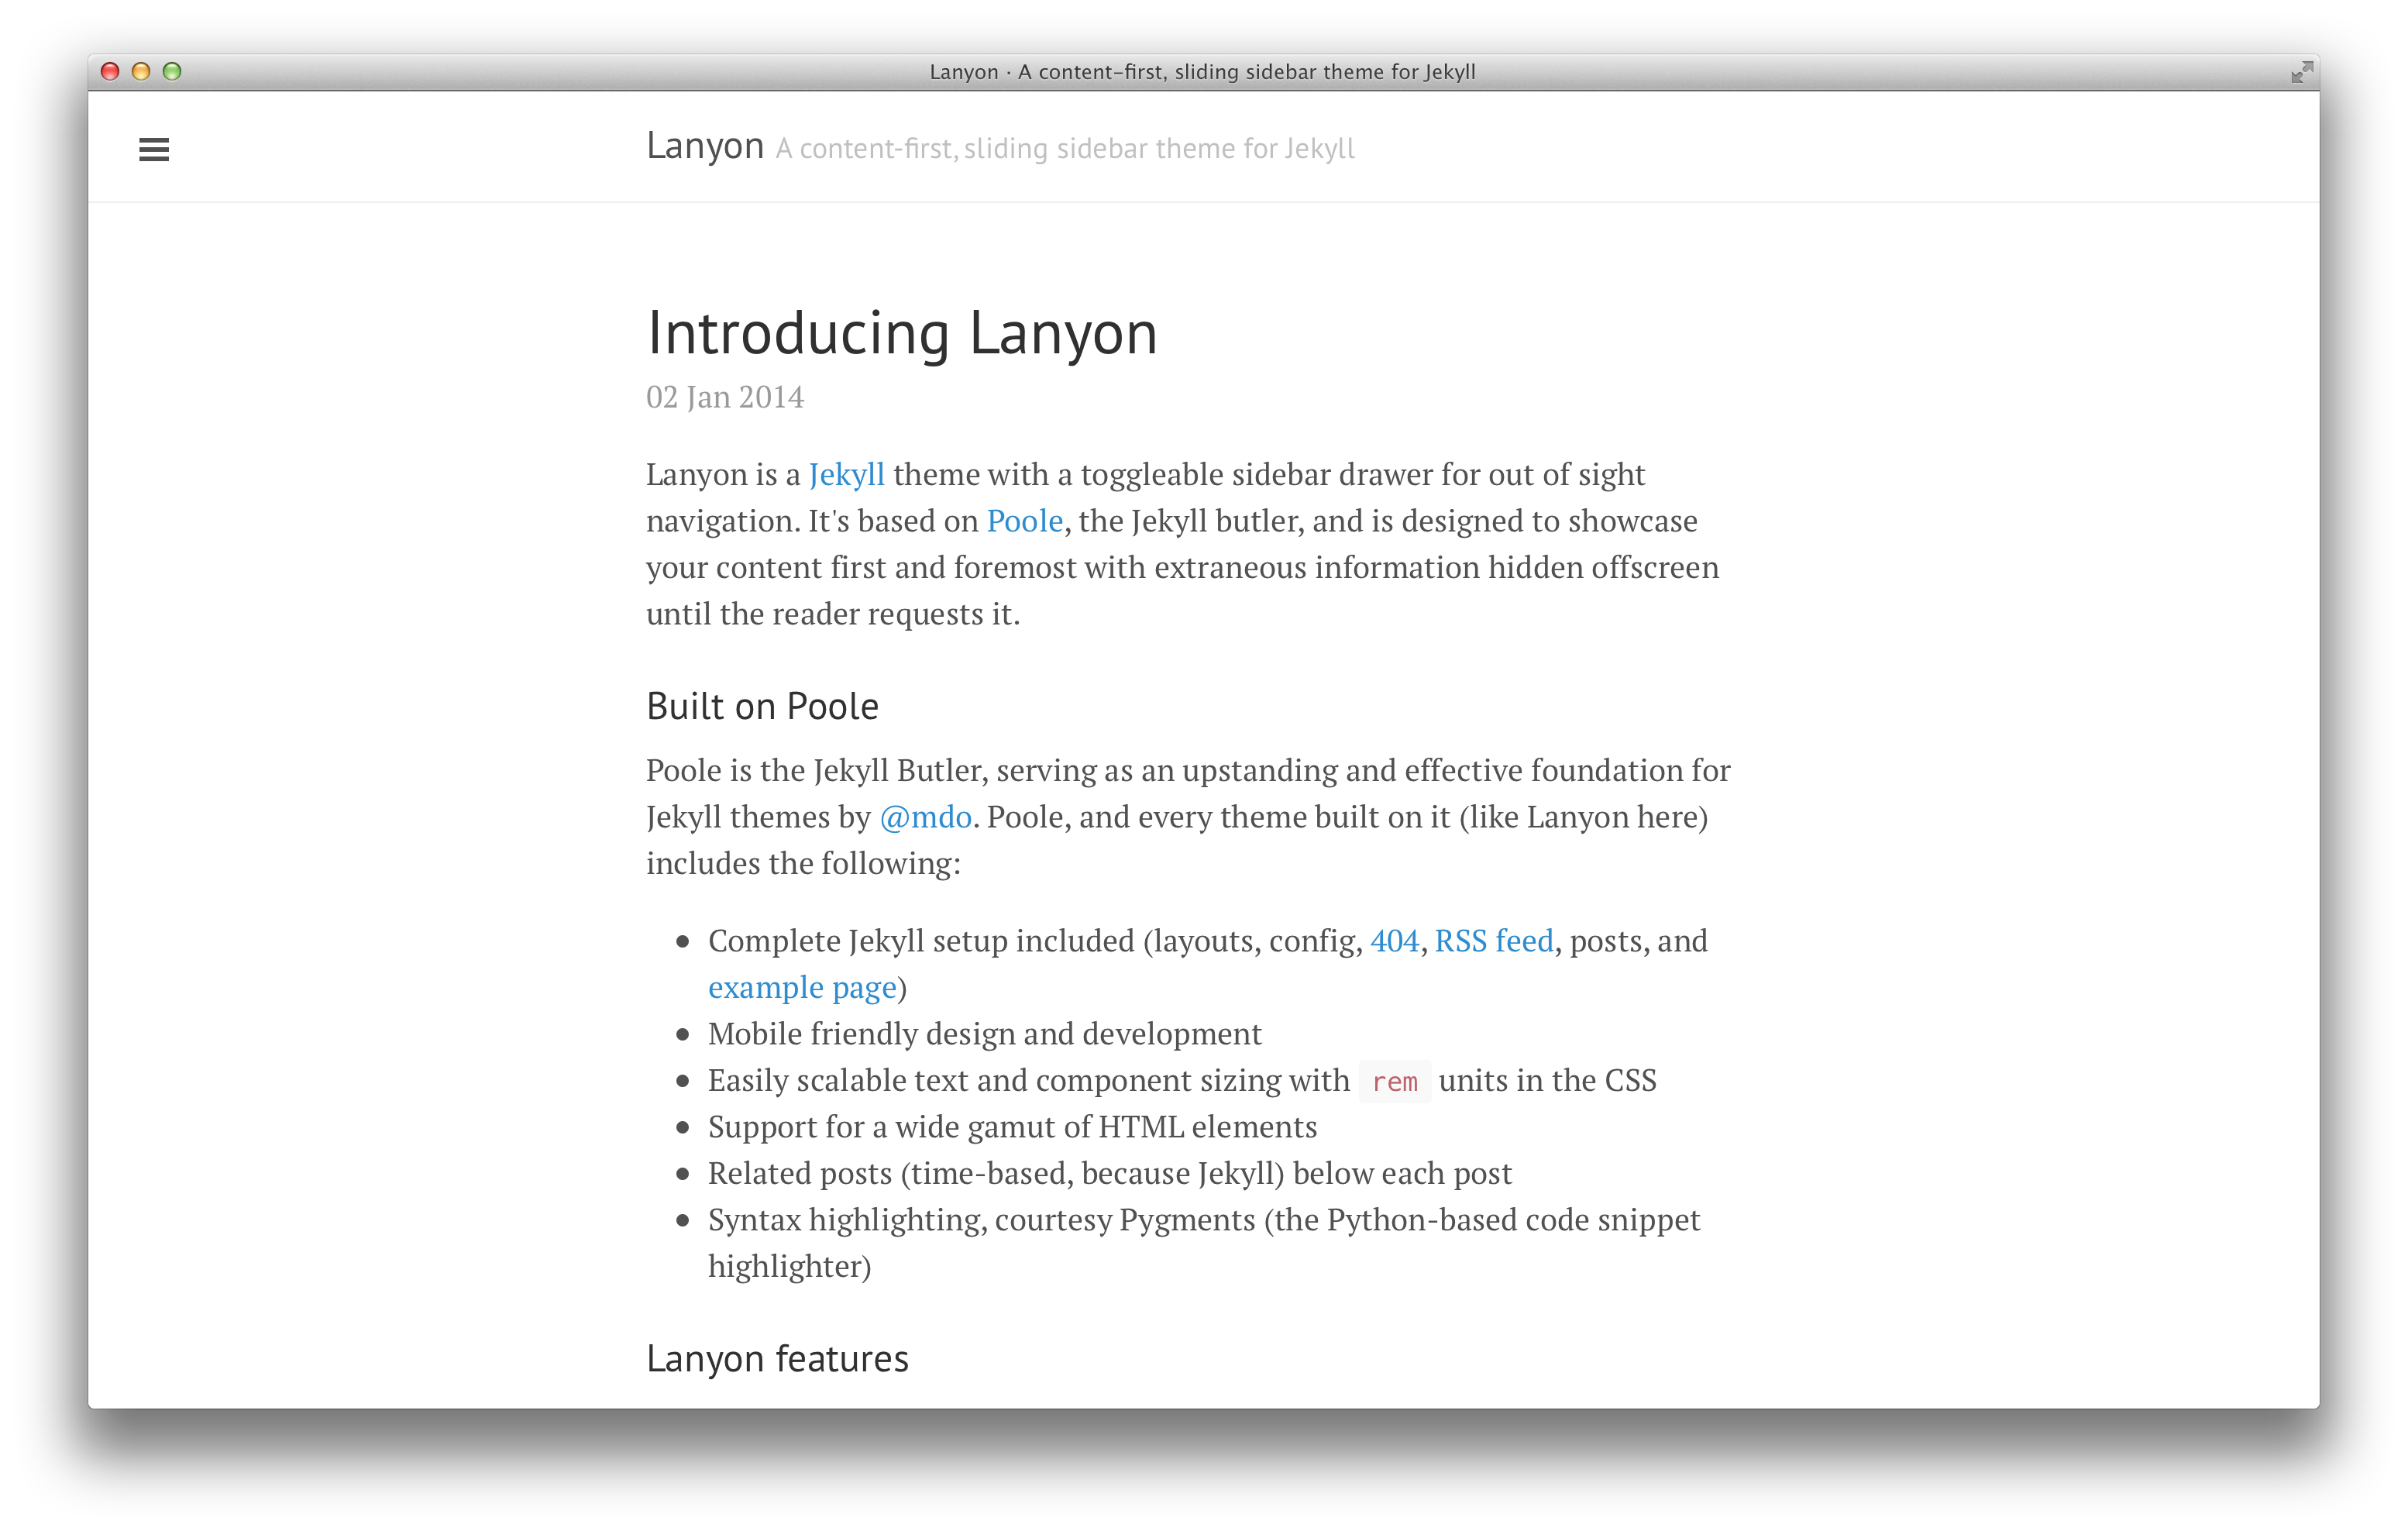
Lanyon is a theme that offers a unique, sidebar-based layout. It includes support for posts, pages, and custom navigation links. Lanyon also offers eight different color schemes, so you can choose the one that best fits your blog’s aesthetic.
Hyde
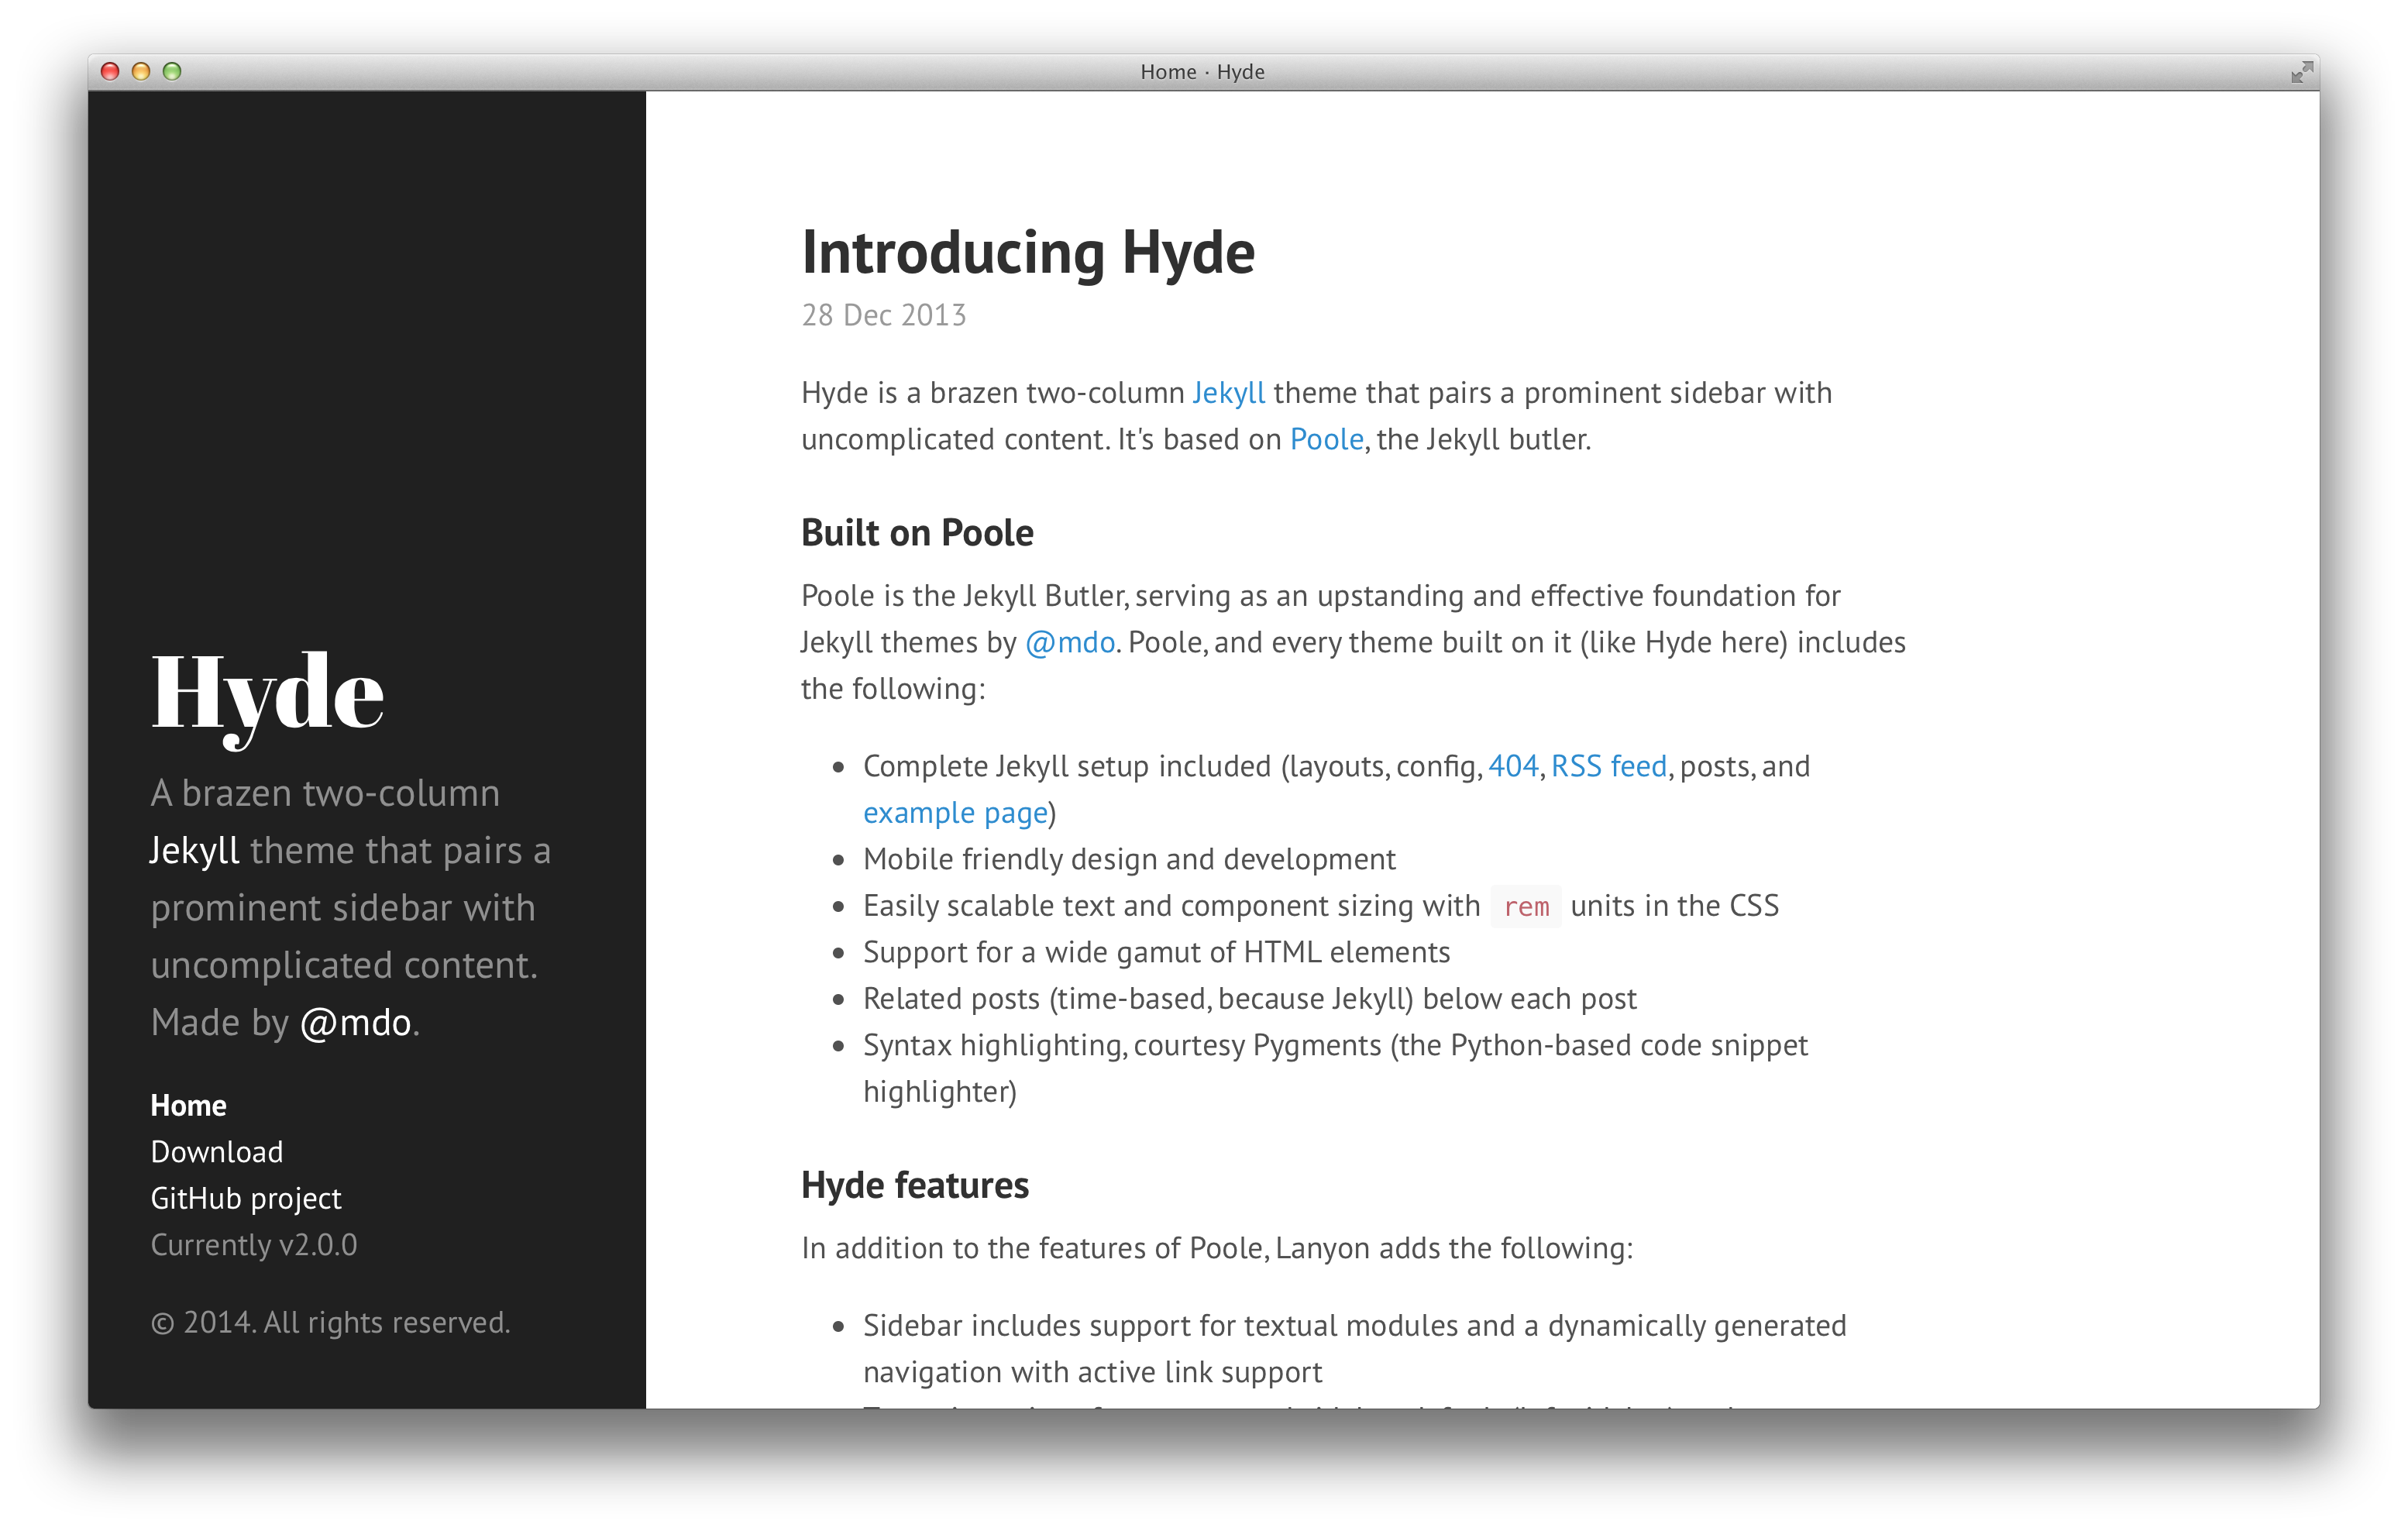
Hyde is a brazen two-column Jekyll theme that pairs a prominent sidebar with uncomplicated content. It’s based on Poole, the Jekyll butler, and includes support for theme customization, custom navigation links, and posts.
These are just a few examples of the many Jekyll themes available for GitHub Pages. By choosing a theme that matches your personal style and the content of your blog, you can create a visually appealing and engaging blog that resonates with your readers.
In the next section, I will discuss some best practices for building your blog on GitHub Pages.
Best Practices for Building Your Blog
Creating a blog is more than just writing posts and publishing them. To ensure that your blog is successful, you need to follow some best practices. In this section, we’ll discuss best practices for optimizing site performance, using custom domains, organizing your content, utilizing SEO practices, and integrating social media and comments.
Optimizing Site Performance
Site performance is crucial for providing a good user experience. A slow-loading site can deter visitors and negatively impact your blog’s search engine rankings. Here are some ways to optimize your blog’s performance:
- Minimize File Sizes: Compress your assets, such as images and CSS files, to reduce their file size. Smaller file sizes mean faster load times for your visitors.
- Enable Caching: Caching allows your site’s static assets to be stored on the user’s device, reducing the number of requests made to the server.
- Use a Content Delivery Network (CDN): A CDN serves your site’s assets from multiple locations, improving load times for users around the world.
Using Custom Domains
While GitHub Pages provides a free domain in the format username.github.io, you might want to use a custom domain to give your blog a more professional look. Here’s how you can do it:
- Purchase a domain from a domain registrar.
- Update your DNS settings to point to GitHub’s servers.
- Add the custom domain to your GitHub Pages repository settings.
- Wait for the DNS changes to propagate. This can take up to 24 hours.
Organizing Your Content with Tags and Categories
Organizing your content with tags and categories can make it easier for your visitors to find relevant posts. Here’s how you can do it:
- Add tags and categories to your posts using YAML front matter.
- Use these values to generate tag and category pages.
Utilizing SEO Best Practices
Search Engine Optimization (SEO) helps your blog rank higher in search engine results, making it more visible to potential visitors. Here are some SEO best practices you can follow:
- Use Descriptive Metadata: Metadata, such as titles and descriptions, helps search engines understand what your site is about.
- Use Clean URLs: URLs should be easy to read and include keywords relevant to the content of the page.
- Optimize Your Content for Relevant Keywords: Include keywords in your page titles, headings, and content.
Integrating Social Media and Comments
Integrating social media and comments can increase engagement on your blog. Here’s how you can do it:
- Social Media Integration: Use widgets or buttons provided by platforms like Twitter or Facebook to enable social sharing.
- Comments: Use services like Disqus or Commento to enable comments on your posts.
By following these best practices, you can ensure that your blog is not only visually appealing but also user-friendly, well-structured, and optimized for search engines.
In the next section, I will explain how to leverage GitHub Pages’ features for blogging.
Leveraging GitHub Pages for Blogging
To make the most out of your blogging experience on GitHub Pages, it’s essential to understand the platform’s workflow, know how to push updates, manage your blog with Git, collaborate with others, and leverage the various features that GitHub Pages offers. Let’s delve deeper into each of these aspects.
Understanding the GitHub Pages Workflow
The GitHub Pages workflow is quite straightforward. It begins with creating a new repository on GitHub, configuring the _config.yml file, adding content to your blog, and customizing the layout and design. Here’s a step-by-step overview of the workflow:
- Create a new GitHub repository: This repository will host all the files related to your blog, including your blog posts, themes, and configuration files.
- Configure the _config.yml file: This file contains settings that Jekyll uses when it builds your site. You can customize your blog by editing these settings.
- Add content to your blog: You can add content to your blog by creating blog post files in the _posts folder in your repository.
- Customize the layout and design: You can personalize the look and feel of your blog by editing the _config.yml file and the index.md file.
Once you’ve completed these steps, your blog is live and accessible at username.github.io, where ‘username’ is your GitHub username.
Pushing Updates to Your Blog
To keep your blog fresh and engaging, you’ll need to regularly push updates. This involves making changes to the content or style of your site in your repository, committing the changes, and pushing them to GitHub. Here’s how you can do it:
- Make changes to your local project files: This could involve writing a new blog post, updating an existing one, or tweaking the design of your blog.
- Commit your changes: Use a Git client to add and commit your changes. This creates a snapshot of your changes in your local repository.
- Push your changes to GitHub: This updates your GitHub repository with the changes you made locally.
- Wait for your changes to be published: It may take up to 10 minutes for the changes to be published and visible on your website.
Managing Your Blog with Git
Managing your blog with Git allows you to track changes to your files, collaborate with others, and revert to previous versions if needed. Here’s how you can do it:
- Clone your blog repository to your local machine: This creates a local copy of your blog repository that you can edit on your machine.
- Make changes to your local project files: This could involve writing a new blog post, updating an existing one, or tweaking the design of your blog.
- Use Git to add, commit, and push your changes: This updates your GitHub repository with the changes you made locally.
Collaborating with Others on Your Blog
GitHub Pages makes it easy to collaborate with others on your blog. You can invite collaborators to your repository and give them access to make changes to the content and style of your site. Here’s how you can do it:
- Share the repository URL with your collaborators: This allows them to clone the repository and make changes locally.
- Collaborators make changes to the local project files: This could involve writing a new blog post, updating an existing one, or tweaking the design of the blog.
- Collaborators use Git to add, commit, and push their changes: This updates your GitHub repository with the changes they made locally.
- Review and merge the changes: Once the changes have been pushed, you can review them and merge them into the main branch when ready.
Leveraging GitHub Pages Features for Blogging
GitHub Pages offers several features that can enhance your blogging experience. Some of these features include:
- Jekyll: You can use Jekyll to blog using Markdown, a lightweight and easy-to-use syntax for styling your writing.
- Custom URLs: You can use your own custom domain for your GitHub Pages site by creating a file named CNAME and including your URL.
- Customization: GitHub Pages allows you to choose from pre-built themes or create a site from scratch.
- Guides: GitHub Pages provides guides on creating custom 404 pages, using submodules, and more.
By understanding how to use these features, you can leverage the power of GitHub Pages to create a unique and engaging blog.
Conclusion
Creating a blog using GitHub Pages is not only a cost-effective solution but also a great way to leverage your coding skills. It offers a simplified workflow that makes it easy for both beginners and experienced developers to create and manage a blog.
In this guide, I walked you through the process of setting up a blog on GitHub Pages from scratch. I covered how to create a new GitHub repository, configure the _config.yml file, add content to your blog, and customize the layout and design.
I also explored some popular Jekyll themes that you can use to enhance the look and feel of your blog.
Moreover, I discussed some best practices for optimizing site performance, using custom domains, organizing your content, utilizing SEO practices, and integrating social media and comments.
Finally, I delved into how to leverage the features of GitHub Pages for blogging, including understanding the GitHub Pages workflow, pushing updates, managing your blog with Git, collaborating with others, and utilizing the various features that GitHub Pages offers.
Now, it’s your turn to start creating your own blog using GitHub Pages. Remember, the key to a successful blog is consistency and quality content. So, start creating, keep learning, and happy blogging!
References
- https://chadbaldwin.net/2021/03/14/how-to-build-a-sql-blog.html
- https://docs.github.com/en/pages/quickstart
- https://pages.github.com/
- https://www.smashingmagazine.com/2014/08/build-blog-jekyll-github-pages/
- https://github.com/planetjekyll/awesome-jekyll-themes
- https://github.blog/2016-08-22-publish-your-project-documentation-with-github-pages/
- https://chadbaldwin.net/2021/03/14/how-to-build-a-sql-blog.html